Showing posts with label tutorials. Show all posts

Thursday, October 11, 2012

How To: Wet-Felted Cloche Hat

Wet-Felted Cloche Hat

Tutorial


As cooler weather rolls in, I am always looking for more warm hats.  My affinity for red pea coats  (10 years, going strong!) means that I have to choose carefully lest I clash or look like a Christmas tree.  Though I love knitting, I like a little variety in my hats.  With only a few hours of work, you can take a pile of roving and turn it into a cute cloche hat.  Plus, you can go ahead and call yourself a milliner afterwards, and that's pretty great.  Some experience with wet-felting is definitely helpful.  

Materials: 
-Wool roving
-A hat form or a balloon
-Nylon stocking
-Bubble wrap or sushi mats
-Ivory soap (or another gentle liquid soap)
-Hot water
-Felting needles (if needed for fixing up)


If using a balloon, inflate to about 1/2 inch larger than the diameter of your head.  Determine how long you want your hat to be and mark it with masking tape on the balloon or the hat form.  Apply a thin layer of liquid soap on your form, it will act as an adhesive and help with the felting process.

Begin applying wool as follows:

First, apply a layer of wool vertically.  Gently stretch out wool in lines from about an inch below the tape line over the top of the form to an inch below the tape.  Apply vertical lines until the form is covered.  Next, apply a layer of wool horizontally.  Wrap the wool in rings around the previous later from bottom to top.  Repeat these two steps until you have 5-6 layers. 


After the form is completely covered, carefully pull a nylon stocking over the top.  Cut off any excess stocking and tie in a knot (or cut the stocking above the foot, then you will have the toe seam on top).   Put your hat form somewhere that you can get wet.  I used a shallow plastic box.  

Squirt some more liquid soap on top of the stocking.  Using water as hot as you can stand it (or, cover your hands in rubber gloves if sensitive), pour a small amount onto the wool.  Pat with your hands to ensure the water is everywhere.  Gently rub your hat with your hands, in small circles.  As you rub, you will feel the wool begin to felt.  When the hat starts to feel firm, you can rub much more forcefully.  Add more soap and water as needed.

When it seems like nothing you are doing makes a difference, it is time to full the felt.  Remove the stocking and form.  Rinse your hat, alternating hot and cold water.  Wring it out and place it on your fulling mat (bubble wrap or sushi mat).  Add more soap and hot water.  Now, you are going to be very aggressive with your felting.  Rub it all around your mat or roll it up inside, then roll back and forth.  Repeat, turning the felt every few minutes, until your hat feels very well-felted.  Rinse out and place back on form to dry.  You may have to stretch it to make it fit, but get it on there!  


After your hat has dried, trim it to your desired length.  Working from the inside, use felting needles to fill in thin spots.   You may also want to use your felting needle to smooth out the edge where excess was trimmed off. 


In my opinion, a cloche looks naked without something on the side.  I used pre-folded quilt edging to make a ribbon and bow on mine.  I preferred this to actual ribbon because it was not so shiny, which matched the matte of the hat well.  I sewed the ribbon around the brim then added a bow.   For a tutorial for this style of bow, follow my finishing for these hair bows.  You could also add a big flower or a feather instead if it suits your fancy.


And then, you have a hat!  So easy and so warm.  Hooray for millinery! 

Monday, September 24, 2012

Tea Cup Hat Pin Holder!

Hat Pin Holder

Tutorial

Recently, I found myself desperately needing somewhere to hold my hat pins. I decided to make a pin cushion type holder for them and Colleen had the genius idea to use a tea cup to house the pin cushion!


I used a tea cup, about a cup of sand, needle, thread, scissors, scrap cloth, wool felting fiber, and a felting  needle. The entire project only took me about an hour and ended up working out great! 


I picked up this cute tea cup at a garage sale! I was lucky to get such a great deal on it.


I began by folded the fabric in half and traced the size of the cup onto the fabric to ensure the pouch would fit perfectly inside.


Then I pinned the cloth together; this was done to ensure that I could cut two circles of the same size.


Next I sewed the two circles together to create a pouch. Leaving a small section open and then flip the pouch inside out. Now the pouch is ready to fill.


I made a funnel out of paper and dumped the sand into the pouch. This gave the cushion some weight and  allowed for the hat pins to be pulled out with ease. 


Once the sand was in, it was time to close it up. Since it would not be visible in the final product, it was not necessary for the pouch to look perfect. 


Lastly, I lightly felted fiber onto the sandbag to have a nice, puffy, and colorful layer over the top. The felted layer ended up being about half an inch thick.  


Now my hat pins have a new home and they look lovely!

<3 Amy

Sunday, April 22, 2012

Hair Bows, Two Ways

Knitting Patterns for Hair Bows

Two Ways to Knit Hair Accessories


After dyeing some yarn yellow with turmeric (see tutorial here) I had to come up with something to do with it.  I decided to knit some hair bows because I thought the yellow would go well with my dark hair.  I made up the patterns as I went along and here I am to share them with you!  I've never written a knitting pattern before, so feel free to make suggestions for changes.

Hair Bows, Two Ways

You will need for both patterns:
A small amount of light weight yarn (sock or sport works well)
Set of 4 DPNs of an appropriate size (this chart has great recommendations), I used 3mm
Yarn needle
Alligator clip or bobby pins

Both bows are knit in two pieces: a body and a center strap.  Finishing instructions differ for the two bows. Seed Stitch Bow is knit flat for both pieces while Stockinette Bow is knit in the round for the body and flat for the center strap.

Seed Stitch Bow


Make body of bow as follows:

Using two needles, cast on 7 stitches.

Row 1: k1, p1, k1, p1, k1, p1, k1

Repeat Row 1 until work is double the desired length of hair bow.  Mine was about 18 cm (7 in) long.  Bind off.


Make center strap as follows:

Using two needles, cast on 5 stitches.

Row 1: k1, p1, k1, p1, k1

Repeat row until strap is desired length.  To check, wrap around the middle of the body.  The strap should gather the bow so should be tight around it.  Mine was about 5.5 cm (2 in) long.  Bind off.

Finishing:

Seam together cast-on and bind-off rows of body.  Lay body flat so that the seam is in the middle of the back.  Wrap strap around the center of the body, over the seam, and seam together cast-on and bind-off rows.  Weave in ends.  If you have an alligator hair clip, you can sew or hot-glue it onto the back.  If not, use bobby pins to secure bow in hair.


Stockinette Bow


Make body of bow as follows:

Using two needles, cast on 14 stitches. Distribute stitches onto three needles and join to knit in the round.  Place marker to indicate end of round.

Round 1: knit to end of round

Repeat Round 1 until work is double the desired length of hair bow.  Mine was about 19 cm (7.5 in) long.  Bind off.


Make center strap as follows:

Using two needles, cast on 5 stitches.

Row 1 (RS): knit to end
Row 2 (WS): purl to end

Repeat rows 1 and 2 until strap is desired length.  The center strap will not be used to gather the bow very much so should be as long as double the width of the body.  My body was 3 cm (1 in) wide so my strap was 6 cm (2 in) long. Bind off.

Finishing:

Seam together cast-on and bind-off rounds of body.  Lay body flat so that the seam is in the middle of the back.  Using scrap yarn, gather body around the middle using running stitch (good tutorial here). Wrap strap around the center of the body with WS down, over the seam, and seam together cast-on and bind-off rows.  Weave in ends.  If you have an alligator hair clip, you can sew or hot-glue it onto the back.  If not, use bobby pins to secure bow in hair.


Tuesday, April 17, 2012

Tutorial for Lace Elbow Pads

Lace Elbow Pads

A Tutorial for Up-cycling With Old Lace Tights


One of my dresses has been in need of a serious revamp. It was far too low cut to wear in my daily life and it could use something to make it special.


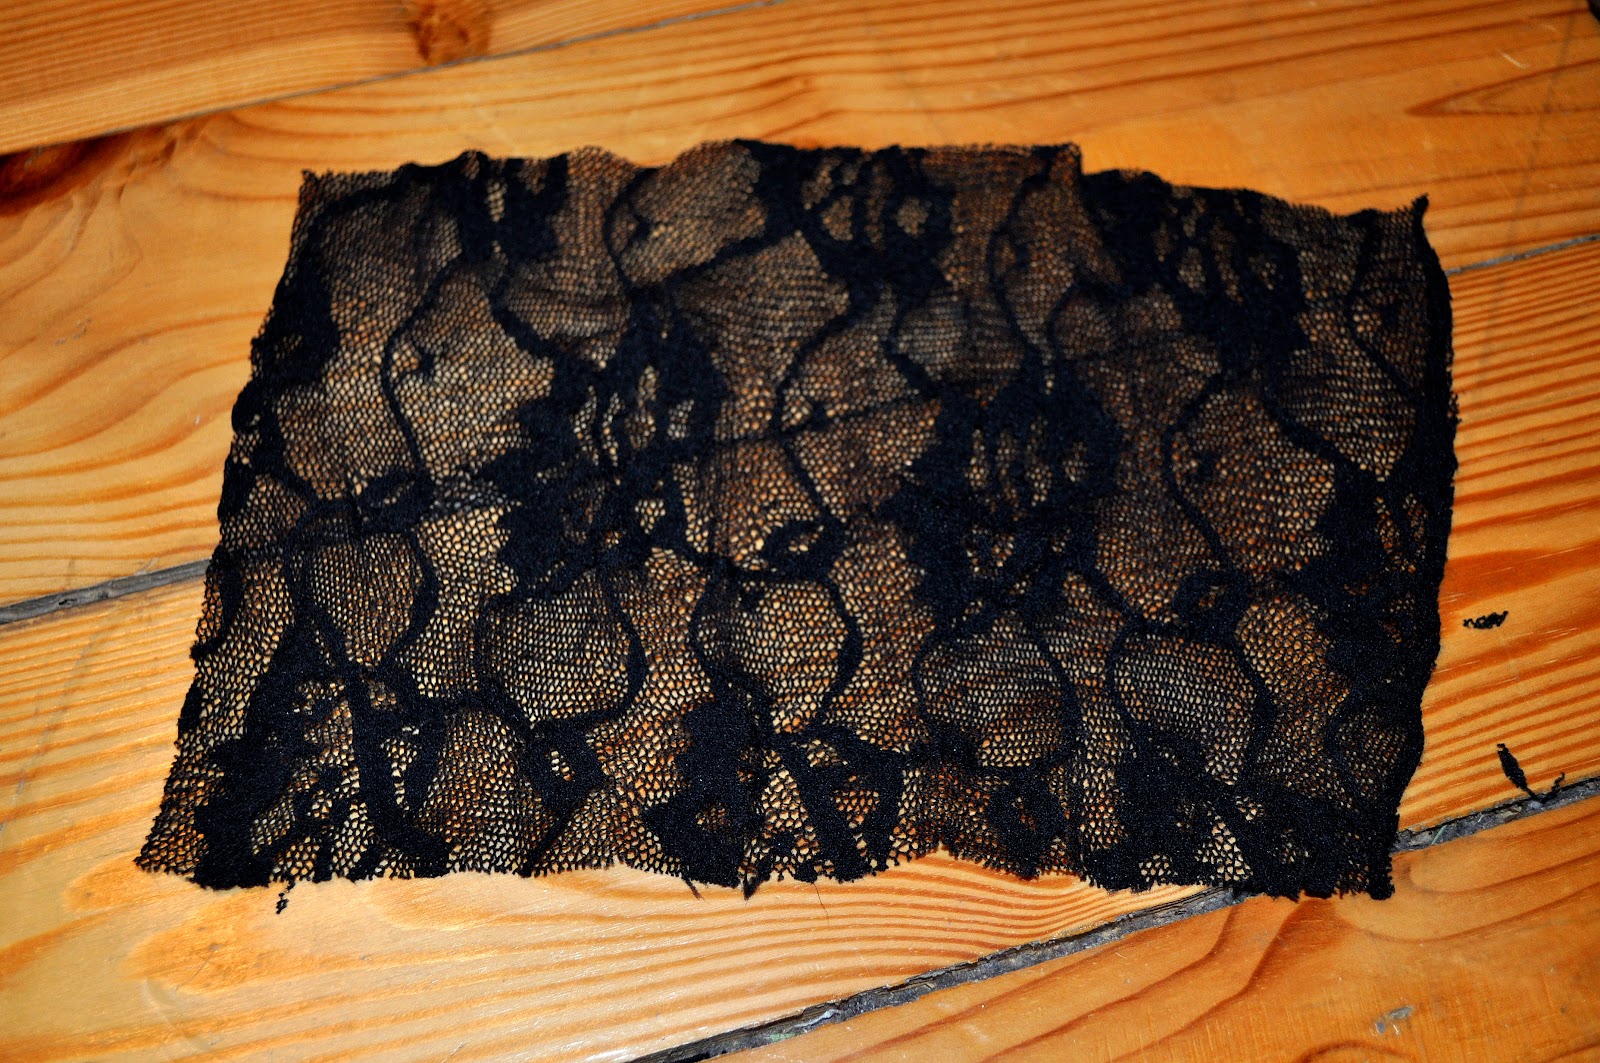
I recently decided that it was time to retire my favorite pair of lace tights (due to many holes). I got the idea that they need not be thrown out, rather they could be given new life by using them to fix up a few other pieces. I used a bit on a pair of felted slippers made by Colleen, and I decided to use the rest to help out a dress in need. 


Here is the dress that is desperate for a pick-me-up. 


First, I used cardboard to get the exact size of my elbow pads. I used an older sweater of mine with elbow pads to help measure. All we had was an old Annie's Macaroni box for cardboard. :)


Once the cardboard was pinned in place, I cut out my two elbow pads. I cut both layers at once, this was to ensure they were roughly the same size. 


Next you will want to measure where your elbow hits the dress, then pin the elbow pads into place. 


Next, I cut out a large piece for the neckline. The edges are quite rough with the lace, because it is stretchy material. Once it was sewn on, the small imperfections blended in. 


After pinning the larger piece to inside of the neckline, it was time to sew. It took me a few evenings to complete this project, a lot of tiny stitches. The lace on the neckline was easier, because the stitches were inside the dress. The elbow pads took a bit more time, because everything is visible from the outside. 


In the end, it was all worth it! The dress came out just how I wanted. I am sure I will be doing similar projects to this soon. It is nice to feel like you have a completely new dress by simply adding a bit more character to an older piece. Cannot wait to wear this dress tomorrow!

<3 Amy

Monday, April 9, 2012

Dyeing Natural Fibers with Spices

Dye Natural Fibers with Spices

A Tutorial

Over the past few weeks, blogs and Pinterest boards have been abuzz with posts about natural egg dyeing.  After we dyed our eggs with beets, paprika, turmeric, and red cabbage, it seemed wasteful to dump the extra dye down the drain.  I took a handful of un-dyed wool and put it in the yellow (turmeric) dye, then went grocery shopping.  When I came home, I found that the wool had, indeed, dyed a beautiful yellow.  I saved the rest of the yellow dye (having dumped the others because they were a bit lumpy) and decided I would try more later.  


Today, I got out some more wool and two hanks of white, cotton yarn.  I prepared the yarn for dyeing by wrapping it around a book.  I cut about 6 pieces of scrap yarn and tied it around the strands at even intervals; this way, the yarn would not become tangled while dyeing.  Here are all the materials you will need to do this at home:

-un-dyed cotton and/or wool
-turmeric and/or paprika
-vinegar
-pots
-tongs
-rubber gloves
-fine mesh or a nylon stocking


I boiled two pots of water: one for turmeric and one for paprika.  Each pot had enough water to cover the yarn.  I added a few teaspoons of spice for each liter of water and one tablespoon of vinegar to each pot.  It definitely takes a lot paprika to make a darker color, but turmeric will work with less.  I mixed the spices in well then let the water come to a boil.  I then submerged the yarn in the dye and turned the temperature to low, leaving the dye to simmer for about 30 minutes.  You could make your yarn darker or lighter by changing the amount of spice you use or changing the length of time you leave it sitting.  Remove your yarn when it is several shades darker than what you would like. 


I used tongs to remove the yarn from the dye.  Wearing rubber gloves, I washed the yarn until no more dye came out.  I set the yarn to dry in the sun.


Next up: wool!

 I covered the pot of dye with a nylon stocking and poured the dye into another pan, trying to avoid letting any of the spice mix in.  This is because I did not want any spices to stick to the wool which is much more delicate  and harder to wash than the cotton.  


Once the dye had cooled to about the temperature of bath water, I carefully submerged the wool.  Next time, I will take greater precautions to fully submerge it.  Again, I let the wool sit for about 30 minutes.  After washing, I found that this was far too short!  Next time, I will leave it for at least an hour, if not several.

After soaking, I carefully washed the wool.  The water should be luke warm--no warmer, no colder.  This prevents the wool from accidentally felting. After the water ran clean, I set the wool to dry in the sun.


The results!  Turmeric turned both the wool and the cotton a pretty bright yellow.  The paprika made the wool a pale orange and the cotton a coral pink.

I will be using the wool for needle-felting, not for wet-felting, because I do not know how well the dye will stand up to washing.  As for the cotton yarn, I will probably be using it to make brooches or accessories--again, things that do not require washing.

Want to dye other colors?  Try the same techniques used for dyeing Easter eggs (this link has a good explanation of different colors you can make)!

Next up: vegetable dyes!

-Colleen

Friday, April 6, 2012

Tiny Tulip Basket Tutorial

Tiny Tulip Baskets

How to Make a Spring or Easter Craft


Today, I have another tutorial!  I learnt to wet-felt when I was in university but I don't do it much anymore.  I had an idea for a tulip-shaped basket and wanted to give it a go in miniature because of my new love of all things tiny.  It would be cute for a doll on Easter or to fill with a small treasure for a child.  


For the basket, you will need:
- wool (two colors for the flower looks best, in my opinion)
 -a plastic ball (a small rubber ball would work but as I do not have one in my house, I made a ball out of a plastic bag)
-hot soapy water in a squeeze bottle or dispenser
-a bowl
-a towel
-some green felt


First, take a piece of wool of your inside color and pull it into a thin strip.  


Wrap your ball in the first color, gently pulling the wool as you do, so that the wool around the ball is very tight.  


When you can no longer see the ball at all, you are finished with this color.  You do not want to make the felt too thick. 


Repeat the process with your second color.  


When you can no longer see the inner color, your have wrapped your ball enough.


Gather your equipment for the next step.


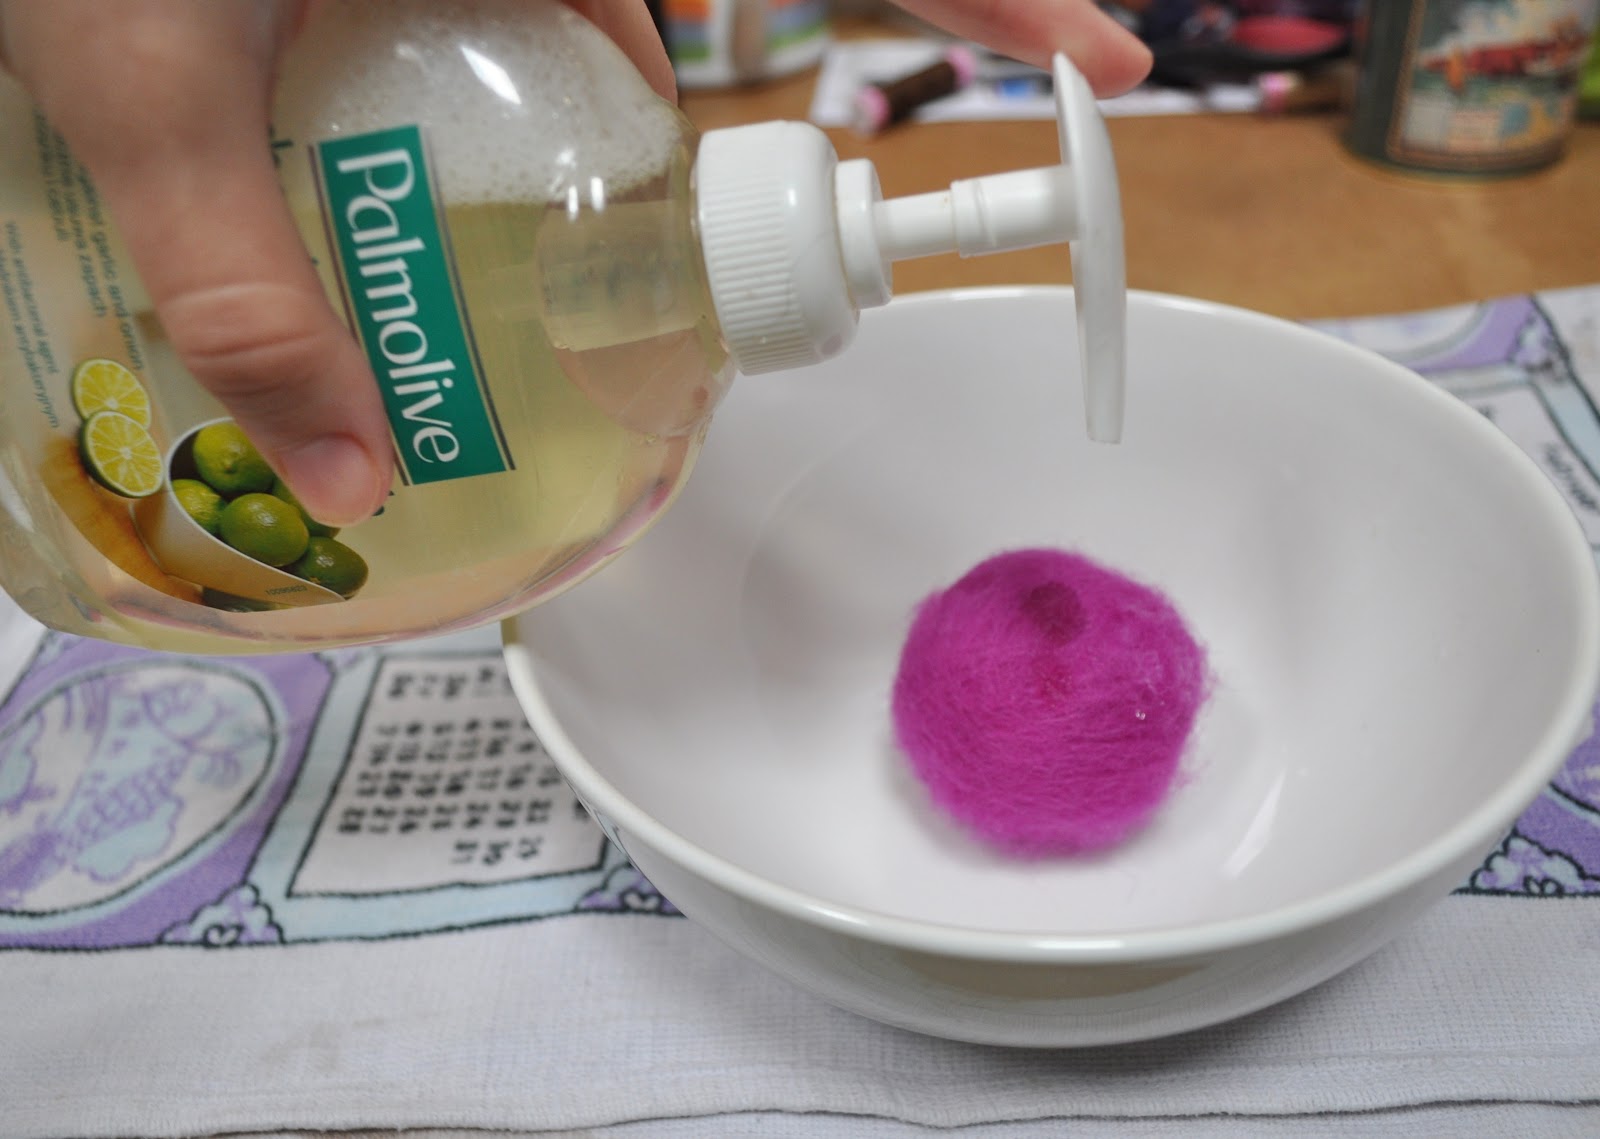
Squirt a bit of the hot, soapy water onto the ball.  You do not want to soak it!  Just dampen it.  Too much water may make the ball fall apart and will make it unmanageable.  


Take the ball in your hands and roll it around over the bowl.  As you roll, you will feel the wool tighten. 


Lots of soap will come out.  Keep rolling it, pushing harder as the ball gets firmer.  Once it feels like nothing much is happening, wash the ball with hot water and roll some more.  Wash it again with cold water.  Repeat this process until all the soap is gone from the ball.  


It takes a while and a lot of rolling.  For really strong felt, push really hard as you roll the ball.  You may want to roll it around on a towel.  This helps the drying process as well.


Let your ball dry in a warm place.  


Once it is dry, feel around for the weakest point.  Use a large needle to poke into the ball.  Then, using the sharpest scissors you have, cut into the ball.  If you have a box cutter or an x-acto knife, that might work even better.


You are trying to cut a line that goes from the middle on one side to the middle on the other.  


It takes a lot of effort, but it will cut in the end.


Pop out the ball!


Make two cuts into the top half, dividing it into thirds.  Repeat with the bottom half.  You will have six petals. 


I made the first one with eight petals but it seemed like too many.  This is a personal choice.


Almost flowers! 


I added green to the bottom to look like the stem.  At first, I needle-felted this green on.


I felt like this did not turn out the way I had hoped.


Next, I tried using green felt  as the stem. 


I sewed it on using whip stitch and it looked much better than the needle felting, plus it was invisible on the inside. 


Finally, take a strip of green felt for your handle and sew it to the inside of the basket.  This should be pretty self-explanatory.  

I hope this tutorial was helpful!  Feel free to pin or link back with this image:  


-Colleen