Showing posts with label toys. Show all posts

Tuesday, May 15, 2012

What I've Been Working On: Waldorf Dolls

Miniature Waldorf-Inspired Baby Dolls

Made from Recycled Material

Mini Waldorf dolls


I have not posted about a craft in a while because I have been working hard on patterns and techniques for a miniature Waldorf-inspired baby doll tutorial.  I wanted to post the tutorial as soon as possible but there are just so many steps that I will have to split it into two or three parts.  Nevertheless, I decided that since I've got all of these dolls lying around, I should post some pictures of what I've been up to lately.  


Most Waldorf doll patterns for full-sized dolls require materials and tools that can be difficult to find like tube stocking fabric and doll-making needles.  To make these dolls, you need only a few materials that you probably have lying around the house.  The least common material is wool fleece, which can be found at most local yarn stores.  


I've been making Waldorf dolls for about two years, though I have been interested in them much longer.  My biggest project was making a doll for each child in my preschool class last year (here is a photo).  I was taught by a friend and have been honing my techniques using pamphlets entirely in Czech which makes things pretty interesting.

In the coming weeks, I will post a tutorial, bit by bit.  I may even do a giveaway!

-Colleen

Friday, April 6, 2012

Tiny Tulip Basket Tutorial

Tiny Tulip Baskets

How to Make a Spring or Easter Craft


Today, I have another tutorial!  I learnt to wet-felt when I was in university but I don't do it much anymore.  I had an idea for a tulip-shaped basket and wanted to give it a go in miniature because of my new love of all things tiny.  It would be cute for a doll on Easter or to fill with a small treasure for a child.  


For the basket, you will need:
- wool (two colors for the flower looks best, in my opinion)
 -a plastic ball (a small rubber ball would work but as I do not have one in my house, I made a ball out of a plastic bag)
-hot soapy water in a squeeze bottle or dispenser
-a bowl
-a towel
-some green felt


First, take a piece of wool of your inside color and pull it into a thin strip.  


Wrap your ball in the first color, gently pulling the wool as you do, so that the wool around the ball is very tight.  


When you can no longer see the ball at all, you are finished with this color.  You do not want to make the felt too thick. 


Repeat the process with your second color.  


When you can no longer see the inner color, your have wrapped your ball enough.


Gather your equipment for the next step.


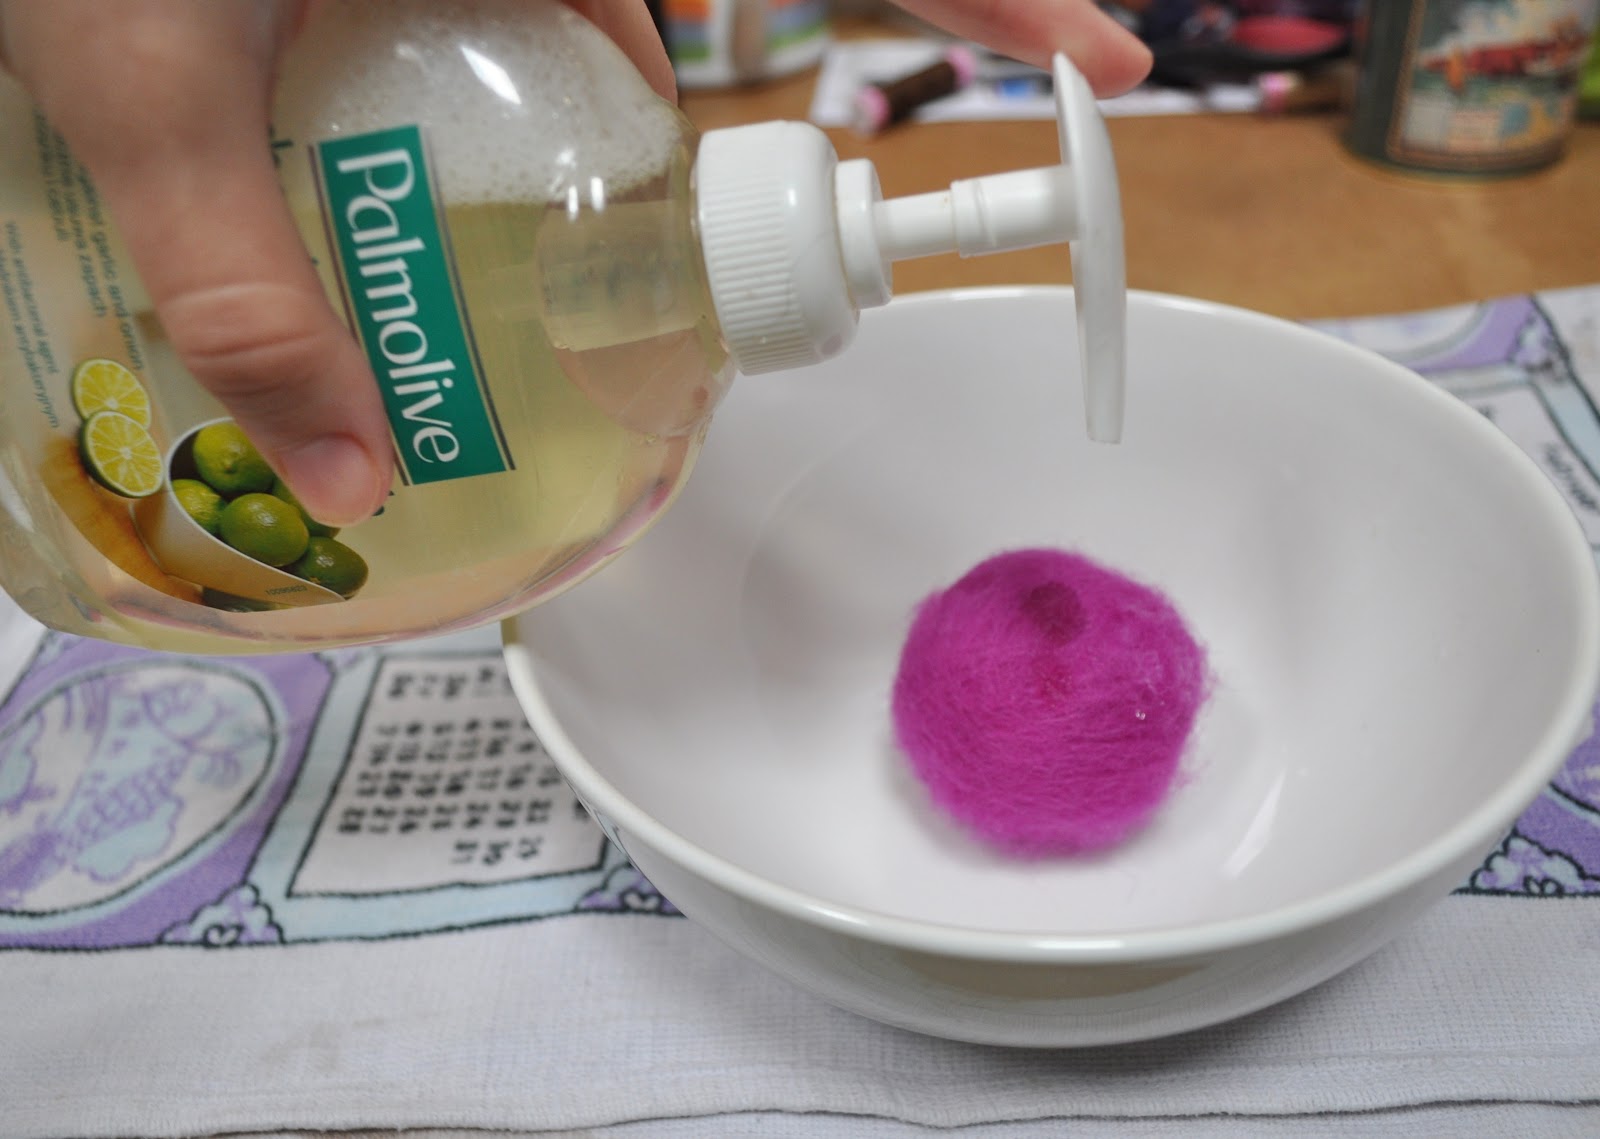
Squirt a bit of the hot, soapy water onto the ball.  You do not want to soak it!  Just dampen it.  Too much water may make the ball fall apart and will make it unmanageable.  


Take the ball in your hands and roll it around over the bowl.  As you roll, you will feel the wool tighten. 


Lots of soap will come out.  Keep rolling it, pushing harder as the ball gets firmer.  Once it feels like nothing much is happening, wash the ball with hot water and roll some more.  Wash it again with cold water.  Repeat this process until all the soap is gone from the ball.  


It takes a while and a lot of rolling.  For really strong felt, push really hard as you roll the ball.  You may want to roll it around on a towel.  This helps the drying process as well.


Let your ball dry in a warm place.  


Once it is dry, feel around for the weakest point.  Use a large needle to poke into the ball.  Then, using the sharpest scissors you have, cut into the ball.  If you have a box cutter or an x-acto knife, that might work even better.


You are trying to cut a line that goes from the middle on one side to the middle on the other.  


It takes a lot of effort, but it will cut in the end.


Pop out the ball!


Make two cuts into the top half, dividing it into thirds.  Repeat with the bottom half.  You will have six petals. 


I made the first one with eight petals but it seemed like too many.  This is a personal choice.


Almost flowers! 


I added green to the bottom to look like the stem.  At first, I needle-felted this green on.


I felt like this did not turn out the way I had hoped.


Next, I tried using green felt  as the stem. 


I sewed it on using whip stitch and it looked much better than the needle felting, plus it was invisible on the inside. 


Finally, take a strip of green felt for your handle and sew it to the inside of the basket.  This should be pretty self-explanatory.  

I hope this tutorial was helpful!  Feel free to pin or link back with this image:  


-Colleen

Thursday, April 5, 2012

Tiny Bird Tutorial

Tiny Bird Tutorial

How to Make Tiny Felt Toys

As promised, I am back with a tutorial for making tiny birds!  I spent a rainy day inside documenting the sewing of some of these little birds.  The two skills required for these birds are blanket stitch and French knots.  I posted some links yesterday for tutorials on both.  So, with your newfound skills, let's make some birds! 


Materials:
Pattern (click here, print the image full size)
Pins and Needles
Thread
Wool Felt
Wool or Cotton for Stuffing
A Bean for Weight

Note on colors:
For a robin, I used dark brown for the body and wings, red for the breast, and light brown for the beak.
For a blue bird, I used light blue for the body and wings then light brown for the breast and beak. 
You could make lots of other types of birds by mixing different body, breast, and beak colors.


Cut out pattern and trace onto felt.  I would suggest cutting the beak freehand because that way, there will be no visible lines.  


After you trace one side of the body, turn over the pattern to trace the other side.  Again, this helps avoid lines on the outside. Cut out your pieces.


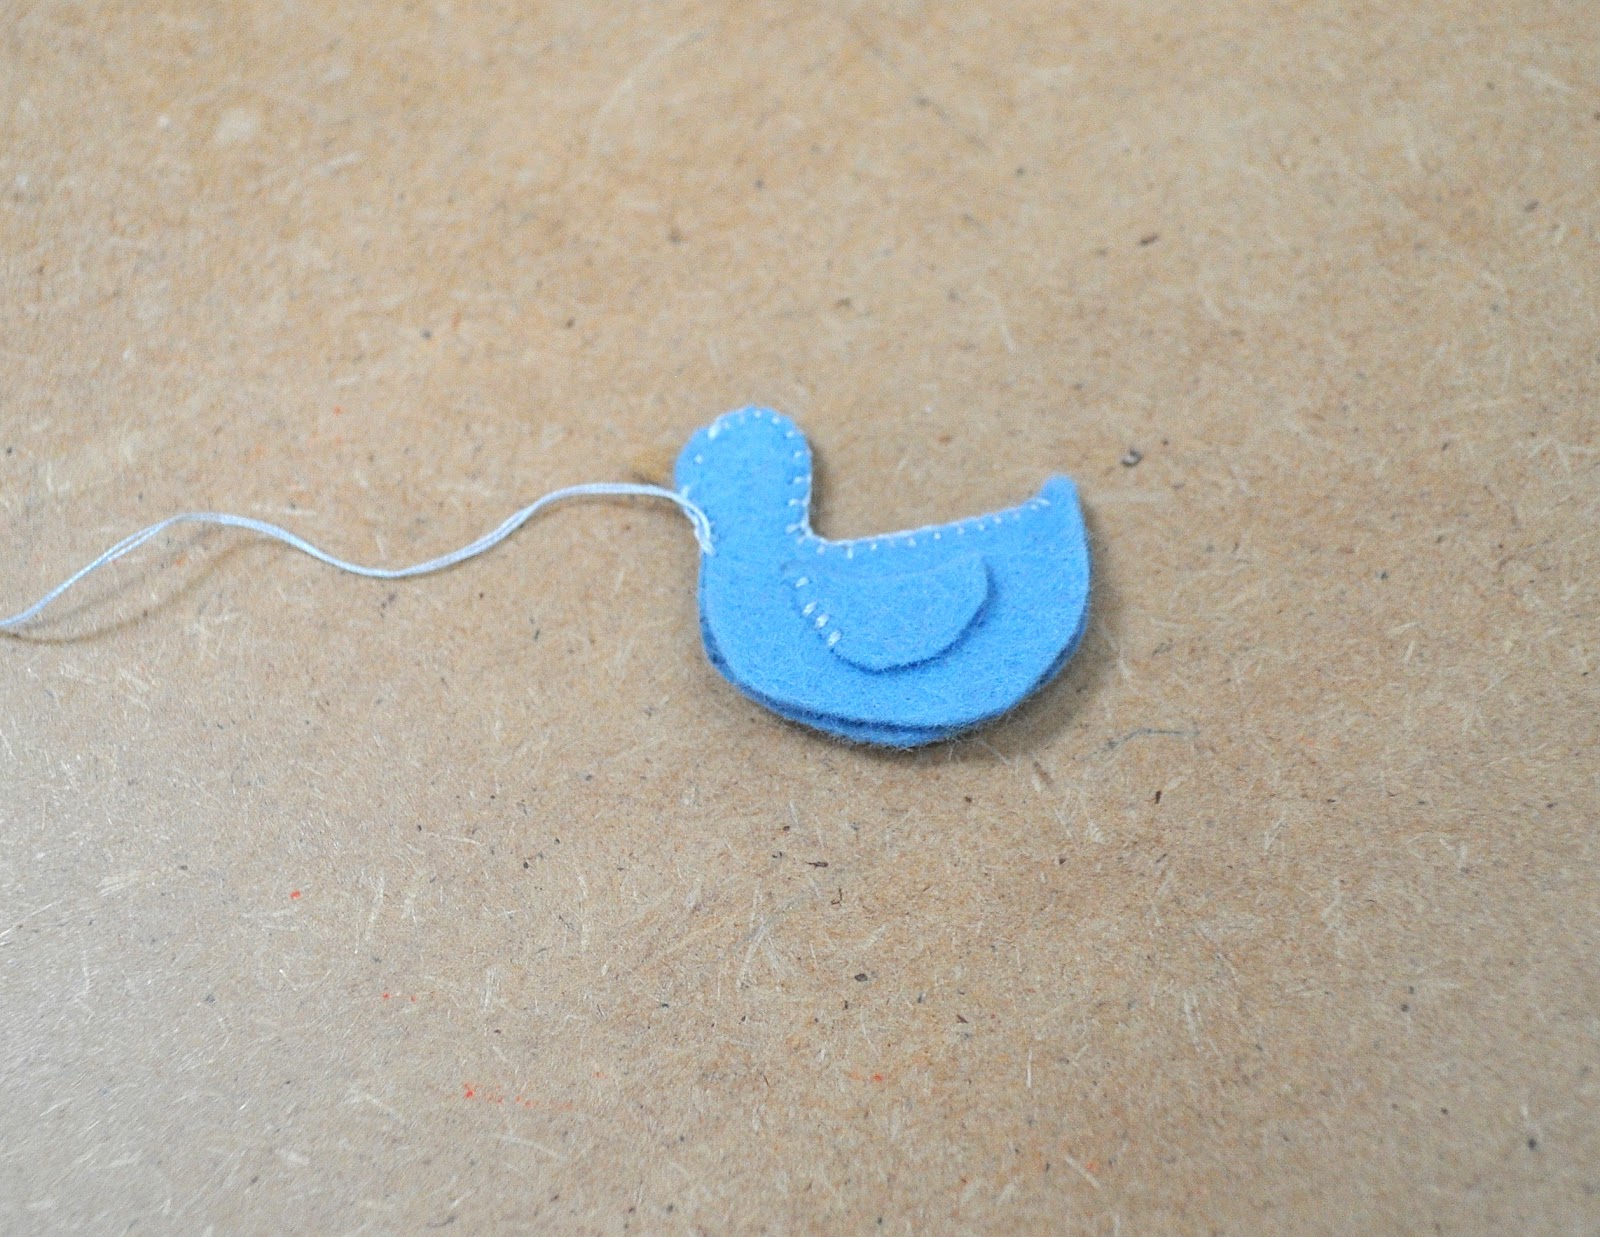
Sew the wings onto the two body pieces using a few stitches.  You could also sew all the way around them if you prefer a smoother look.


Pin together both halves of the body.  Starting at the tail, sew together using blanket stitch until you reach the front of the head.


Place your beak triangle between the two body pieces with about a quarter of an inch of felt inside.  Sew, using running stitch, a few stitches until you reach the bottom of the beak.


Switch back  to blanket stitch and sew to point 1 as marked on pattern (or where you think the top of the breast should be).


Pin breast to body and sew along one side (still using blanket stitch).  If you have never sewn a soft toy like this before, it may not look like these two pieces could possibly line up, but you will see that as you sew, the curves will match up. 


See!  Once you have reached point 2 on the pattern (the end of the breast piece), continue by sewing together the two body pieces until you reach the tail.  Knot your thread and start sewing again from point 2 back to point 1, along the other side of the breast piece.


About halfway along, stuff the bird.  I like to use something pointy (like the dull end of a large needle) to push the stuffing into the neck and down the tail.  I also use a bean inside to weigh down the body.  This helps keep the bird upright and is more appealing to children.  


Finish sewing up the last hole and you have a bird.  Nearly finished!


Add some French knot eyes and... Ta-da!


These tiny birds like friends.


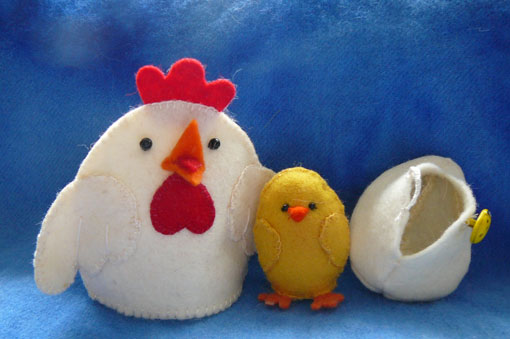
These would be perfect inside an Easter egg (preferably one made of felt!).  They would also be a nice decoration for a seasonal table or even in a small house plant.  
I hope this was clear!  Please comment with any questions and I will try to address them.  If you make your own tiny birds, I would love to see them!  

Saturday, March 31, 2012

Tiny Bunnies Two Ways

Tiny Bunnies

Two Ways to Make Tiny Felt Toys


After I made a bunch of tiny felt animal protoypes last week, I've been working on making some tiny bunnies.  I looked at two different patterns for inspiration.


For the white bunny, I found a nice pattern in this post by Kleas.  I looked at the pattern for the basic shape and then made my own much smaller version. 


For the brown bunny, I took my inspiration from this mouse tutorial by Rhythm & Rhyme.  I made mine even smaller and replaced the mouse ears with bunny ears.  

I used pink thread to embroider noses on both.  For the tails, I needle-felted some tiny balls and sewed them on.  The eyes might be better done with a French knot.  I simply made little, dark stitches.  

Sometime later in the week, I hope to make a full tutorial for tiny birds just in time for Easter.  So go get some nice felt, thread, and check back later in the week! 


Sunday, March 25, 2012

Prototypes

Tiny Felt Toys

Making Prototypes


Seriously Cute Mouse Tutorial
From Rhythm & Rhyme


Which Came First? Pattern
From Fruits of Heart
Easter Bunny Pattern
From Prairie Mouse


The past few weeks, I've been finding a lot of amazing craft ideas via Pinterest and blogs.  These three tutorials for small, felt animals have inspired me to start making prototypes of my own.


My favorite thing about working with felt is that you do not have to sew and then turn your project inside-out to see what you have made.  You can sew on the visible side and see what is happening as you are making it.  So far, I have made a few birds with different beak styles, finally settling on my favorite one (can you guess which it is?).  I also made an elephant with eyes a little too big and a little too high.  I'm really enjoying making toys again; it has been a long time.  Our flat may look like the Island of Misfit toys for now but hopefully, soon, these little guys will become suitable for someone's little toy box.