Showing posts with label felt. Show all posts

Friday, September 28, 2012

Hooray for the Internet!

This week has been a lot of phone calls, waiting, and wasting time on the internet.
My links are full of crafty inspiration!
-Colleen

Corn and other felt tutorials
on While Wearing Heels

I love this cabin!
on Feather and Anchor

I've recently taken up crewelwork and want to make this with wool so badly!
via LMNOP
I also want to make some of these little gnomes.
via Fruits of Heart

These poppies are inspiration for my next crewelwork project!
via The Little Gnomes Home
I cannot find the original source of the image which is going around Pinterest.
Nevertheless, these look like they would make some great booties.
Hope something here inspires you!

Thursday, June 7, 2012

Hooray for the Internet!

I'm starting off my links this week with something you may have already seen.  Even so, it's worth repeating if not just due to my love of hot air balloons.

Enjoy them all!
-Colleen

Kids' Hot Air Balloon Photobooth DIY on Oh Happy Day
Mouse Pattern and Giveaway on Prairie Mouse

I love this blog and I am happy to spread this free pattern!

Floor Cushion DIY on Dobleufa
via Kireei

Even though this is not in English, it is easy enough to figure out.  I adore floor cushions.

Crochet Map Rug on Vaiko

These rugs are pretty neat but I'm digging this whole photo: the tones, the animals, the blocks!

Vintage Clawfoot Bathtubs in Every Color of the Rainbow on Poetic Home

I love all of these, but I'm still really into yellow lately.  Also, the ruffled curtain is precious.


Mini Hot Air Balloon Tutorial on Epbot

While these are a bit too steampunk for my tastes, I feel the need to share all hot air balloons I happen upon.


High-Waisted Sash Skirt Tutorial on This Big Oak Tree

Newspaper Forts on Moddern Parents Mess Kids
via Kireei

I am definitely making these with my nursery school students!

Tuesday, May 29, 2012

Hooray for the Internet!

I am unusually excited about all of my finds this week!  So much so, that I am posting a day early.  
-Colleen

Tent on Kaunis Pieni Elämä

Everyone loves play tents!  This blogger re-covered an old play tent.

Peacock from Horrible Adorables on Red Prairie Press

I saw this and instantly thought of Amy.  We have been talking about where to keep our future felt peacock in our flat.

Tall Ships Weekend in Greenport on Suffolk Times

My home village just hosted Tall Ships Weekend.  Looking at the pictures makes me so homesick.  I can't wait to go there this summer!
Floral Crowns on Oh Joy
"Small Things" on Nana Company
Wooden Knives  on Wither Will I Wander

Little knives for little hands.
Chocolate Amaretto Crêpe Cake on Sprinkle Bakes


Friday, April 6, 2012

Tiny Tulip Basket Tutorial

Tiny Tulip Baskets

How to Make a Spring or Easter Craft


Today, I have another tutorial!  I learnt to wet-felt when I was in university but I don't do it much anymore.  I had an idea for a tulip-shaped basket and wanted to give it a go in miniature because of my new love of all things tiny.  It would be cute for a doll on Easter or to fill with a small treasure for a child.  


For the basket, you will need:
- wool (two colors for the flower looks best, in my opinion)
 -a plastic ball (a small rubber ball would work but as I do not have one in my house, I made a ball out of a plastic bag)
-hot soapy water in a squeeze bottle or dispenser
-a bowl
-a towel
-some green felt


First, take a piece of wool of your inside color and pull it into a thin strip.  


Wrap your ball in the first color, gently pulling the wool as you do, so that the wool around the ball is very tight.  


When you can no longer see the ball at all, you are finished with this color.  You do not want to make the felt too thick. 


Repeat the process with your second color.  


When you can no longer see the inner color, your have wrapped your ball enough.


Gather your equipment for the next step.


Squirt a bit of the hot, soapy water onto the ball.  You do not want to soak it!  Just dampen it.  Too much water may make the ball fall apart and will make it unmanageable.  


Take the ball in your hands and roll it around over the bowl.  As you roll, you will feel the wool tighten. 


Lots of soap will come out.  Keep rolling it, pushing harder as the ball gets firmer.  Once it feels like nothing much is happening, wash the ball with hot water and roll some more.  Wash it again with cold water.  Repeat this process until all the soap is gone from the ball.  


It takes a while and a lot of rolling.  For really strong felt, push really hard as you roll the ball.  You may want to roll it around on a towel.  This helps the drying process as well.


Let your ball dry in a warm place.  


Once it is dry, feel around for the weakest point.  Use a large needle to poke into the ball.  Then, using the sharpest scissors you have, cut into the ball.  If you have a box cutter or an x-acto knife, that might work even better.


You are trying to cut a line that goes from the middle on one side to the middle on the other.  


It takes a lot of effort, but it will cut in the end.


Pop out the ball!


Make two cuts into the top half, dividing it into thirds.  Repeat with the bottom half.  You will have six petals. 


I made the first one with eight petals but it seemed like too many.  This is a personal choice.


Almost flowers! 


I added green to the bottom to look like the stem.  At first, I needle-felted this green on.


I felt like this did not turn out the way I had hoped.


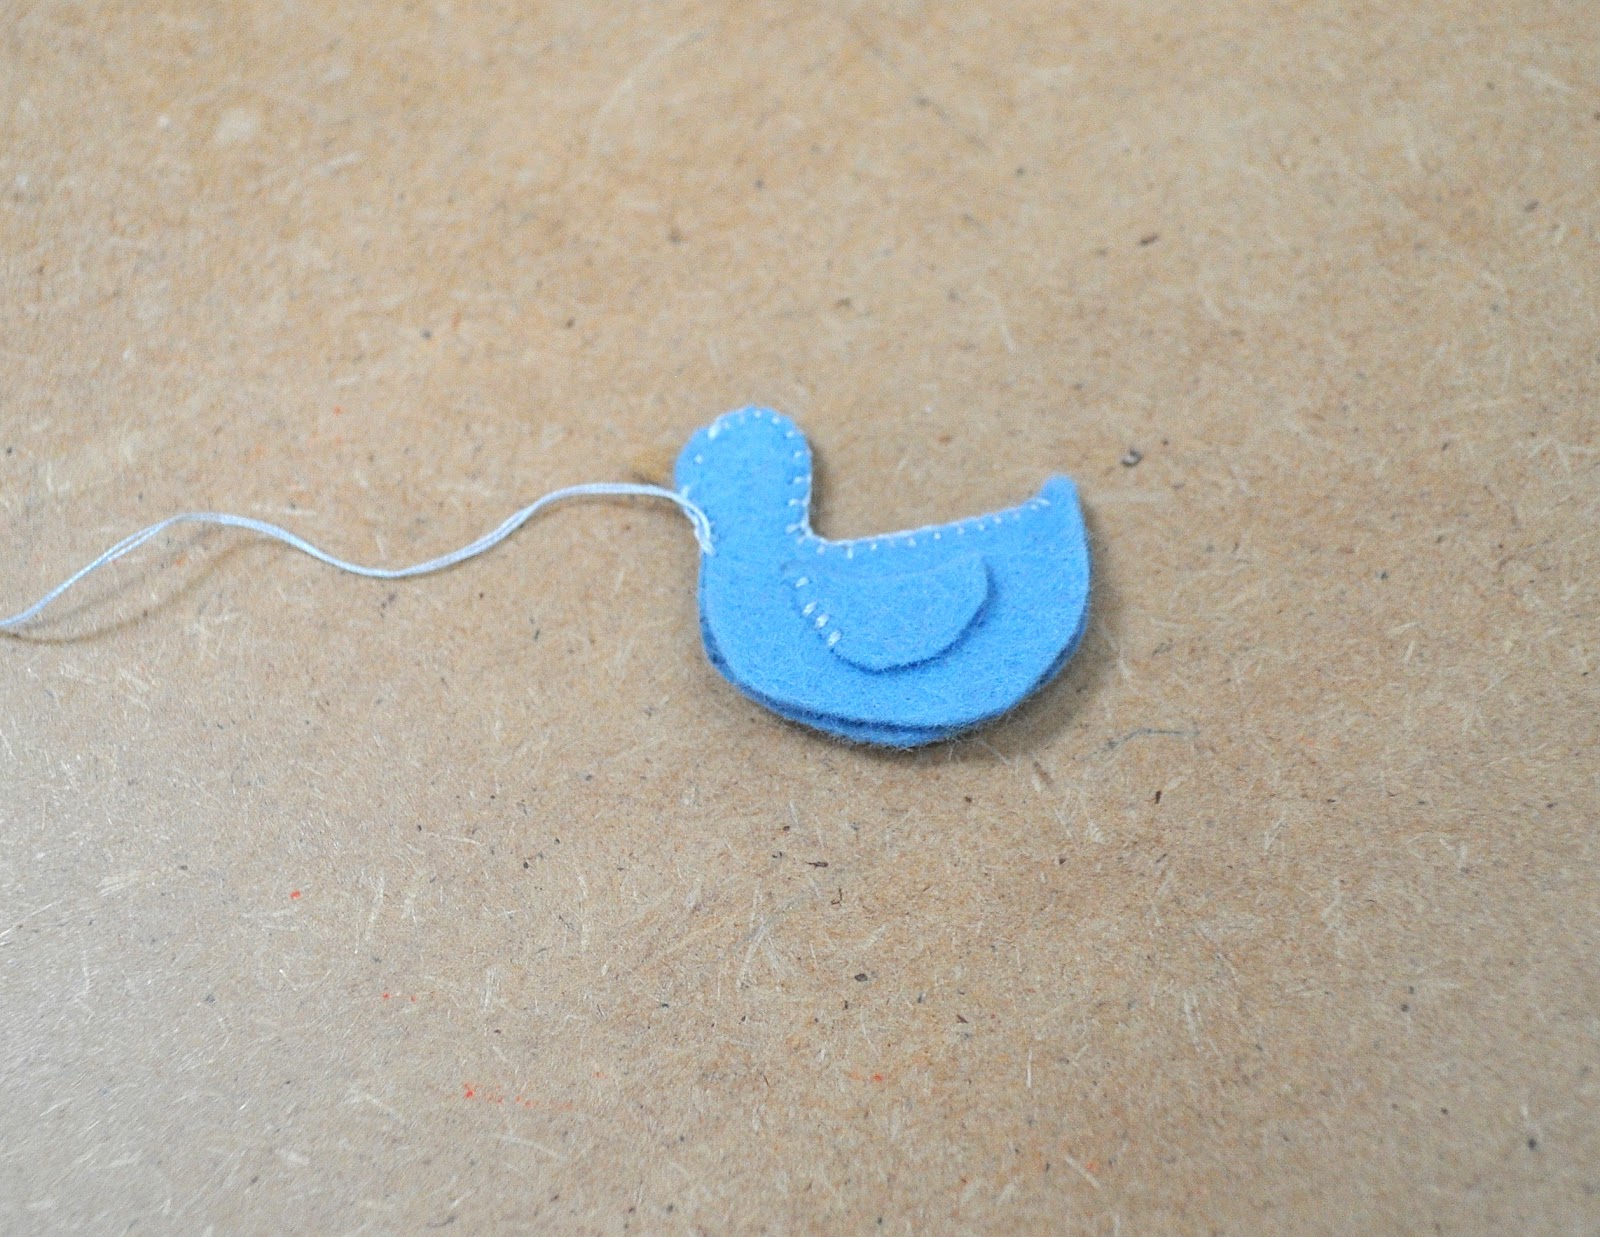
Next, I tried using green felt  as the stem. 


I sewed it on using whip stitch and it looked much better than the needle felting, plus it was invisible on the inside. 


Finally, take a strip of green felt for your handle and sew it to the inside of the basket.  This should be pretty self-explanatory.  

I hope this tutorial was helpful!  Feel free to pin or link back with this image:  


-Colleen

Thursday, April 5, 2012

Tiny Bird Tutorial

Tiny Bird Tutorial

How to Make Tiny Felt Toys

As promised, I am back with a tutorial for making tiny birds!  I spent a rainy day inside documenting the sewing of some of these little birds.  The two skills required for these birds are blanket stitch and French knots.  I posted some links yesterday for tutorials on both.  So, with your newfound skills, let's make some birds! 


Materials:
Pattern (click here, print the image full size)
Pins and Needles
Thread
Wool Felt
Wool or Cotton for Stuffing
A Bean for Weight

Note on colors:
For a robin, I used dark brown for the body and wings, red for the breast, and light brown for the beak.
For a blue bird, I used light blue for the body and wings then light brown for the breast and beak. 
You could make lots of other types of birds by mixing different body, breast, and beak colors.


Cut out pattern and trace onto felt.  I would suggest cutting the beak freehand because that way, there will be no visible lines.  


After you trace one side of the body, turn over the pattern to trace the other side.  Again, this helps avoid lines on the outside. Cut out your pieces.


Sew the wings onto the two body pieces using a few stitches.  You could also sew all the way around them if you prefer a smoother look.


Pin together both halves of the body.  Starting at the tail, sew together using blanket stitch until you reach the front of the head.


Place your beak triangle between the two body pieces with about a quarter of an inch of felt inside.  Sew, using running stitch, a few stitches until you reach the bottom of the beak.


Switch back  to blanket stitch and sew to point 1 as marked on pattern (or where you think the top of the breast should be).


Pin breast to body and sew along one side (still using blanket stitch).  If you have never sewn a soft toy like this before, it may not look like these two pieces could possibly line up, but you will see that as you sew, the curves will match up. 


See!  Once you have reached point 2 on the pattern (the end of the breast piece), continue by sewing together the two body pieces until you reach the tail.  Knot your thread and start sewing again from point 2 back to point 1, along the other side of the breast piece.


About halfway along, stuff the bird.  I like to use something pointy (like the dull end of a large needle) to push the stuffing into the neck and down the tail.  I also use a bean inside to weigh down the body.  This helps keep the bird upright and is more appealing to children.  


Finish sewing up the last hole and you have a bird.  Nearly finished!


Add some French knot eyes and... Ta-da!


These tiny birds like friends.


These would be perfect inside an Easter egg (preferably one made of felt!).  They would also be a nice decoration for a seasonal table or even in a small house plant.  

I hope this was clear!  Please comment with any questions and I will try to address them.  If you make your own tiny birds, I would love to see them!