
Tiny Bird Tutorial
How to Make Tiny Felt Toys

As promised, I am back with a tutorial for making tiny birds! I spent a rainy day inside documenting the sewing of some of these little birds. The two skills required for these birds are blanket stitch and French knots. I posted some links yesterday for tutorials on both. So, with your newfound skills, let's make some birds!

Materials:
Pattern (click here, print the image full size)
Pins and Needles
Thread
Wool Felt
Wool or Cotton for Stuffing
A Bean for Weight
Note on colors:
For a robin, I used dark brown for the body and wings, red for the breast, and light brown for the beak.
For a blue bird, I used light blue for the body and wings then light brown for the breast and beak.
You could make lots of other types of birds by mixing different body, breast, and beak colors.

Cut out pattern and trace onto felt. I would suggest cutting the beak freehand because that way, there will be no visible lines.

After you trace one side of the body, turn over the pattern to trace the other side. Again, this helps avoid lines on the outside. Cut out your pieces.

Sew the wings onto the two body pieces using a few stitches. You could also sew all the way around them if you prefer a smoother look.

Pin together both halves of the body. Starting at the tail, sew together using blanket stitch until you reach the front of the head.

Place your beak triangle between the two body pieces with about a quarter of an inch of felt inside. Sew, using running stitch, a few stitches until you reach the bottom of the beak.
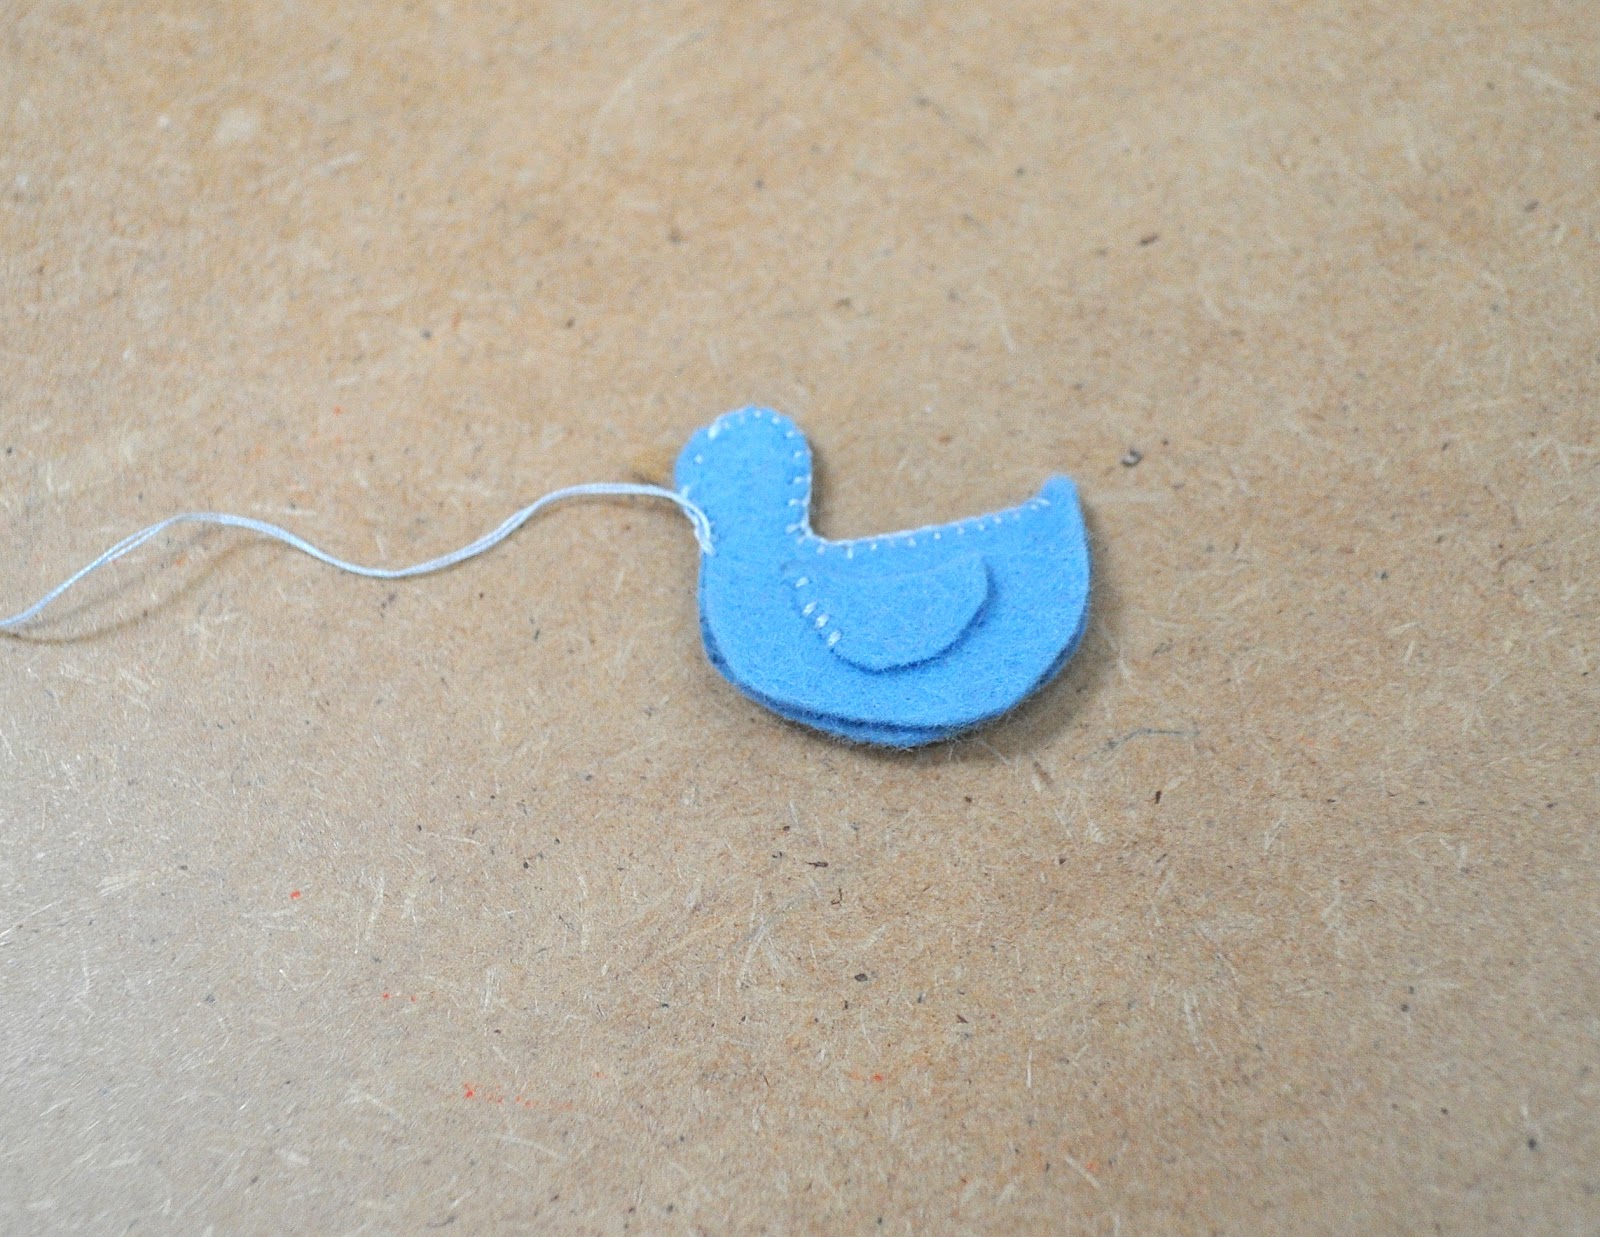
Switch back to blanket stitch and sew to point 1 as marked on pattern (or where you think the top of the breast should be).

Pin breast to body and sew along one side (still using blanket stitch). If you have never sewn a soft toy like this before, it may not look like these two pieces could possibly line up, but you will see that as you sew, the curves will match up.

See! Once you have reached point 2 on the pattern (the end of the breast piece), continue by sewing together the two body pieces until you reach the tail. Knot your thread and start sewing again from point 2 back to point 1, along the other side of the breast piece.

About halfway along, stuff the bird. I like to use something pointy (like the dull end of a large needle) to push the stuffing into the neck and down the tail. I also use a bean inside to weigh down the body. This helps keep the bird upright and is more appealing to children.

Finish sewing up the last hole and you have a bird. Nearly finished!

Add some French knot eyes and... Ta-da!

These tiny birds like friends.

These would be perfect inside an Easter egg (preferably one made of felt!). They would also be a nice decoration for a seasonal table or even in a small house plant.
I hope this was clear! Please comment with any questions and I will try to address them. If you make your own tiny birds, I would love to see them!
I am totally in love with your blog ;) I love all that you have to offer---- thank you for sharing!
ReplyDeleteI will be here catching up on all your posts ;)
Blessings,
Samantha (Woodland Woolens)